In this post, I will be going over a summarized version of how I set up my own, but most importantly, secure self-hosted WordPress server using Digital Ocean.
My first steps involved setting up an account on DigitalOcean and making a project with their Droplet (Server). Droplets are virtual machines that take seconds to set up. This process involved choosing the physical location of my server, selecting WordPress, creating an SSH key for authentication, and buying memory for my specific needs. After the completion of that process, my droplet was created and I was able to see my server’s IP address.

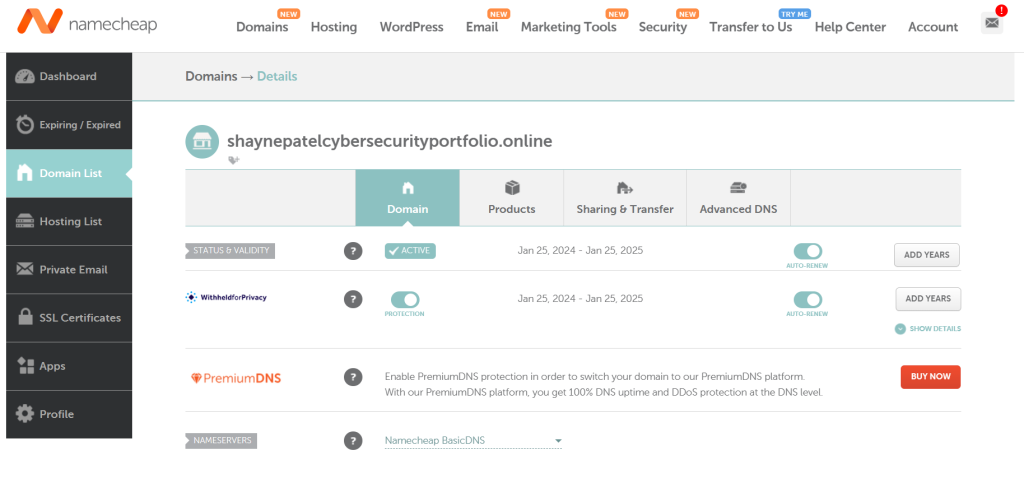
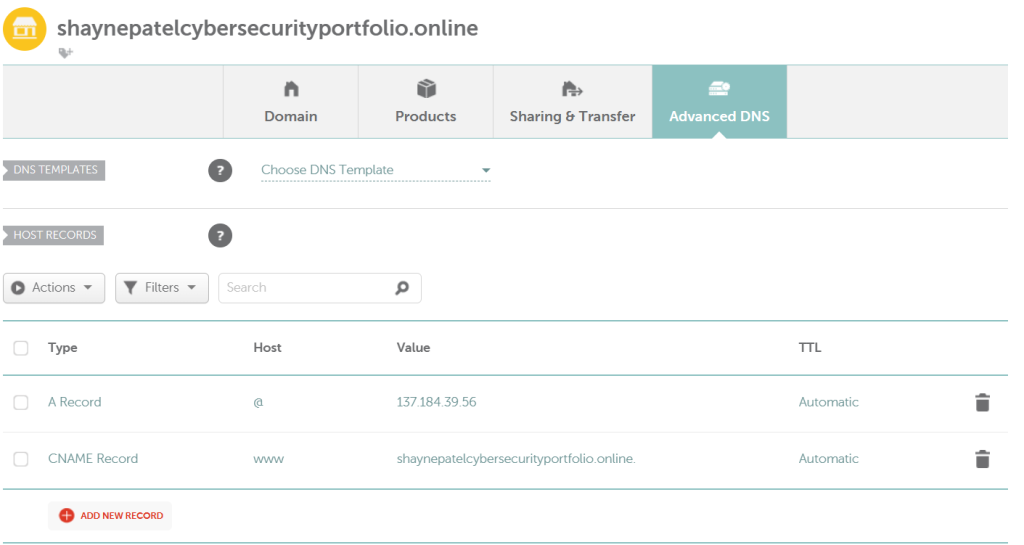
My next steps in this process were over at namecheap.com where I created an account to buy a domain under the name I want, if available of course. As you can see, I chose a very simple one that’s specific to the purpose of this project. After confirming the purchase of the domain, I started to configure it in the “Advanced DNS” settings which needed to be perfect for this to work. I deleted all existing records of the domain and created 2 new ones which were the “A” and “CNAME” records. The A record was assigned the IP address that matches the IP address of the Droplet Server. The CNAME record was given a host of www with the full domain name of my choice. I will say after completion of Network+ and Security+, the following steps were great to apply and understand in general.


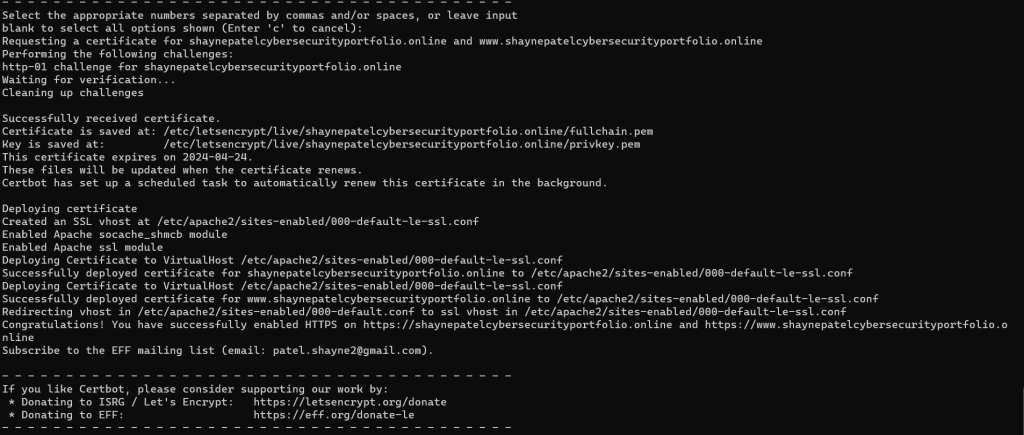
At this point, I’ve made my server, bought my domain, and set it up. Now I need to finish setting up the server which DigitalOcean makes the process very easy since they give a script to run on startup. I started with SSH into my server. The script then ran and asked me to enter in information like domain name and email. The following was a very important step creating a username and password for my WordPress server login, along with my Blog Title. After confirming information, the last part of the script is configuring SSL. The script runs a program called certbot which i was not familiar with but it automatically gives you a real SSL certificate. After confirmation of certificates, I confirmed I wanted to redirect all HTTP traffic to HTTPS traffic as encryption is important for all data in any state.


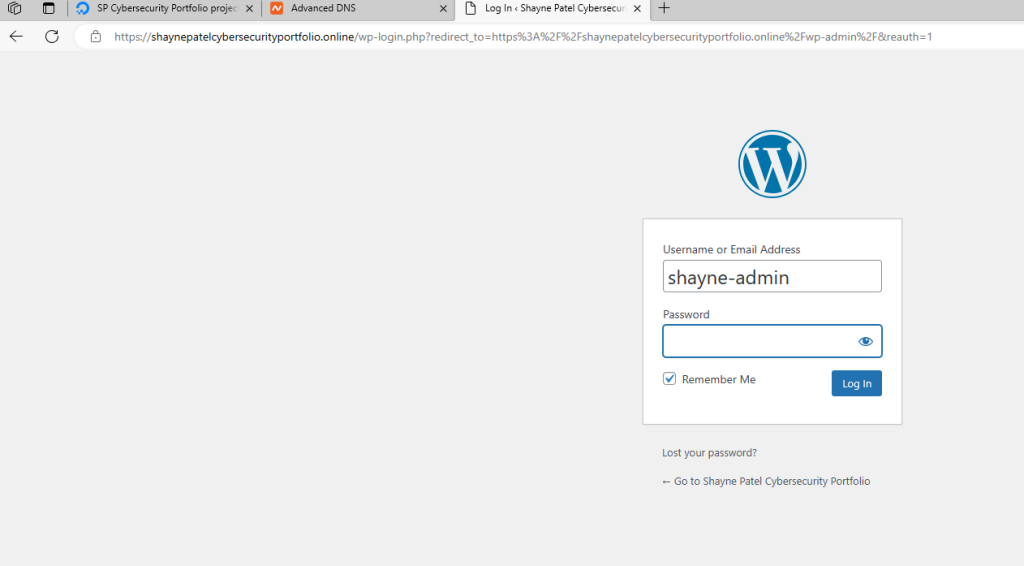
Process done! My next steps were logging into the GUI interface of the WordPress Server and confirming I was able to search the site.

Thanks for reading along!